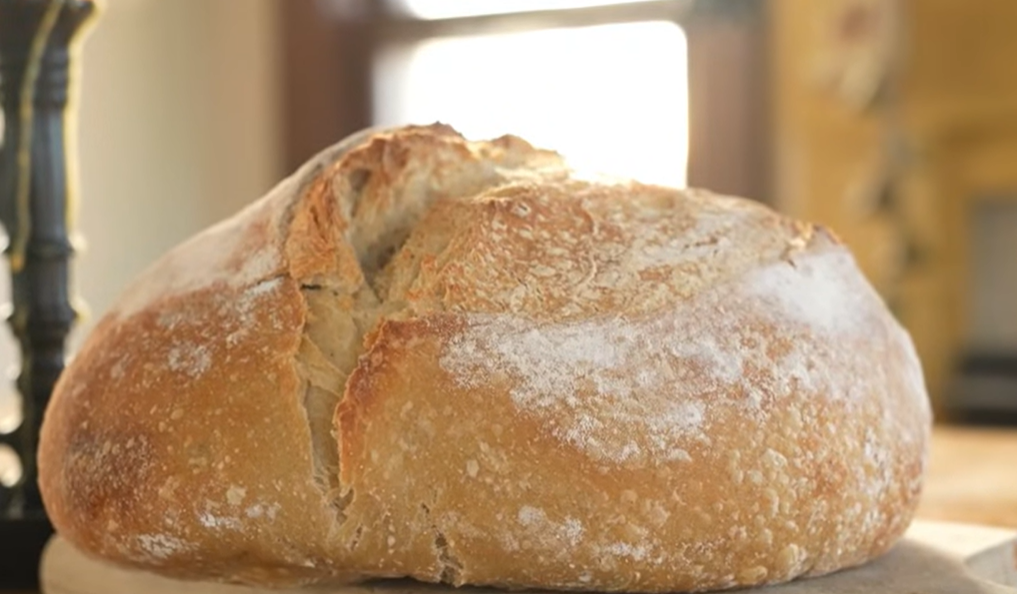
Pioneer Country Sourdough Loaf.
The Pioneer Country loaf is inspired by my pioneer heritage. Made by instinct, the working hand and lots of love.
There is something deeply grounding about baking bread the way it would have been made generations ago — slowly, intuitively, and woven into the rhythm of the day rather than forced into a strict schedule.
This Country Pioneer Loaf is the bread I make most often in our home. It’s hearty but soft, rustic yet tender, and made to nourish a busy household. This loaf is inspired by my own pioneer heritage and the way bread would have been mixed between chores, folded while tending the home, and baked in a warm kitchen that smelled of flour and wood smoke.
Ingredients
1 pint jar of warm, filtered water (about 2 cups, more or less as needed)
~2 cups whole wheat flour (freshly ground if you have a grain mill)
~3 cups all-purpose bread flour
½ cup bubbly, active sourdough starter
2 teaspoons salt
Preparing the Sourdough Starter (The Night Before)
The night before baking, I feed my sourdough starter so it’s bubbly and active by morning.
I use a 1:3 style feeding, which looks like this:
About ⅓ cup sourdough starter
1 cup flour
1 cup water
Mix well and leave it out overnight in a jar or bowl, loosely covered. By morning, it should be visibly bubbly, slightly domed, and smell pleasantly fermented.
Mixing the Dough (Morning)
In the morning, once your starter is ready, begin your dough.
Pour the warm water into a large bowl first.
I always start with the water so the dough doesn’t stick and hydrate unevenly.Add the sourdough starter and swirl it around gently in the water.
Add the whole wheat flour and stir until combined.
Let this mixture sit for about 15 minutes. This allows the whole grains to absorb the water and soften.Add the white flour and salt.
Mix by hand until a shaggy dough forms and everything is incorporated.Let the dough rest for about 30 minutes.
I don’t set a timer — I wash dishes, make breakfast, or tend to the house.
Kneading & Stretch-and-Folds (Throughout the Morning)
This dough comes together slowly and gently.
After the initial rest, give the dough a light knead or stretch-and-fold.
Cover it and walk away.
Return after 20–40 minutes, stretch and fold again.
Repeat this process about 3 times (sometimes 4 if the day allows).
Each time, the dough will feel smoother, more elastic, and less shaggy. This gradual handling activates the gluten naturally, without heavy kneading.
When the dough begins to hold together like a soft ball and feels alive and elastic in your hands, it’s ready for its long rise.
Bulk Fermentation
Place the dough back into the bowl, cover it, and set it in a warm place — I often use the top of my stove.
Let it rise for 5–7 hours, depending on the warmth of your kitchen and the activity of your starter. You’re looking for noticeable volume, softness, and gentle bubbles.
Shaping the Loaf
Turn the dough out onto a lightly floured counter.
Shape it gently and let it rest for 20 minutes.
Shape it once more, creating surface tension.
Place the loaf into a banneton basket or a bowl lined with a floured cloth.
Let it rise again for 45 minutes to 1 hour in a warm spot.
Baking the Pioneer Loaf
Preheat your oven to 420°F with your Dutch oven inside.
Place ceramic pie weights in the bottom of the Dutch oven — this helps prevent the bottom crust from becoming too hard and keeps the loaf soft and supple.
Transfer the dough onto parchment paper and score it with a sharp knife.
Lower the parchment and loaf carefully into the hot Dutch oven.
Cover and bake at 420°F for 20 minutes.
Remove the lid and continue baking:
For a softer crust, reduce heat to 400°F and bake another 20–25 minutes.
The loaf should be deeply golden and smell like real bread.
Cooling (If You Can Wait)
Traditionally, bread should cool 30 minutes to an hour before slicing — but in our house, we rarely wait. There’s nothing quite like warm bread with butter melting into the crumb.
Do what feels right for your home.
A Bread Rooted in Heritage
This Country Pioneer Loaf is more than a recipe — it’s a rhythm. It fits into real life, real homes, and real days. It’s meant to be forgiving, nourishing, and deeply satisfying.
If you’re new to sourdough, don’t be intimidated. Let the dough teach you. Each loaf will be a little different, and that’s exactly how it should be.
✨ If you haven’t already, be sure to watch the full video for a visual walk-through of the process.

Pioneer Country Loaf-Sourdough
Makes 1 Large Loaf. This Country Pioneer Loaf is the bread I make most often in our home. It’s hearty but soft, rustic yet tender, and made to nourish a busy household. This loaf is inspired by my own pioneer heritage.
Ingredients
Instructions
Notes
I like to dust my banneton with rice flour rather than regular flour. It seems to keep the dough from sticking much better and helps the loaf release easily when it’s time to bake.
Placing ceramic pie pebbles in the bottom of the Dutch oven helps prevent the bottom crust from burning. This keeps the loaf soft and supple rather than overly hard on the base.
If you prefer a softer outside crust, you can lower the oven temperature to 400°F after removing the lid and simply bake the loaf a little longer.
You’ll often know the bread is done before you even check it — you can smell it. Paying attention to your senses while working with dough and baking bread is one of the most helpful skills to develop.
This recipe is very forgiving. You can adjust the whole wheat flour ratio, using a little more or a little less depending on preference.
Nutrition Facts
Calories
285Fat
2 gSat. Fat
0 gCarbs
59 gFiber
4 gNet carbs
54 gSugar
0 gProtein
10 gSodium
586 mgCholesterol
0 mg